Reports
The Reports screen is available to anyone with the View Reports permission. There are three ways to get data out of HLMIS:
- The standard reports — ten ready-made reports as fixed tabs.
- Custom Reports — reports an administrator builds for your deployment (standalone mode only).
- View Mode — running any report across the stores below you.
All of these show data for one store at a time — the store you are signed in as, or (in View Mode) the store you are looking at.
The standard reports
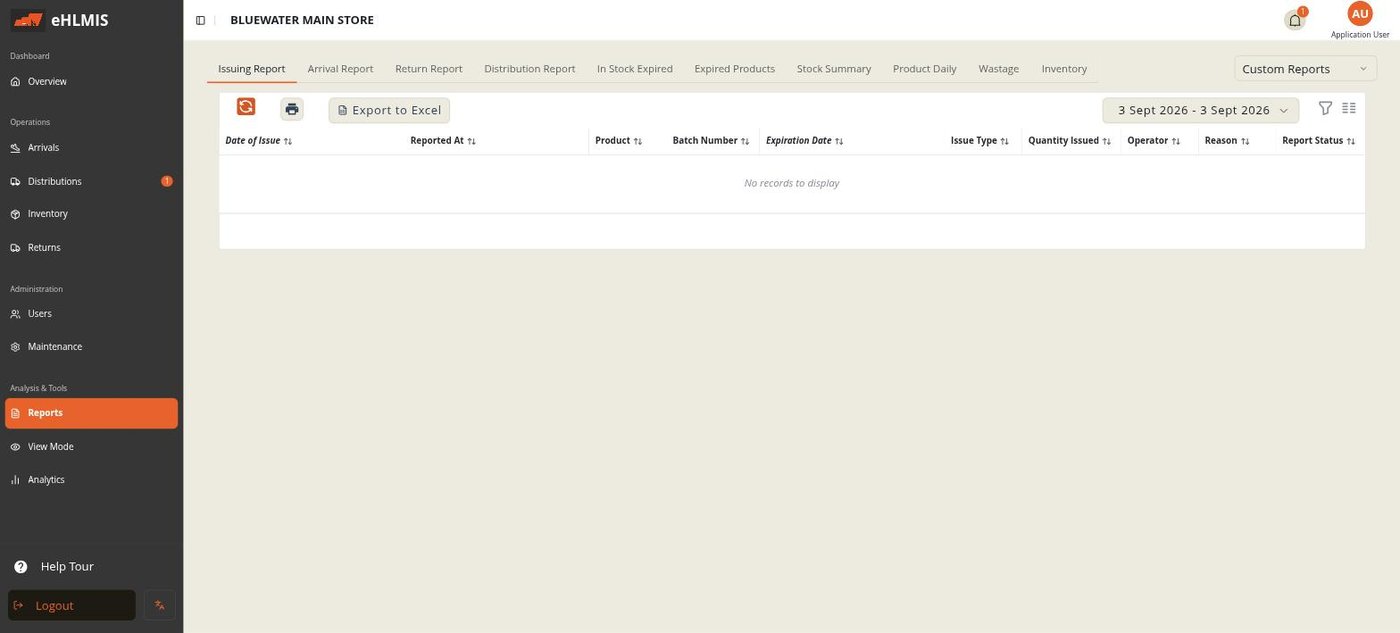
| Tab | Shows |
|---|---|
| Issuing Report | Everything dispensed or wasted through Issuing |
| Arrival Report | Stock received into the main store, by batch and supplier |
| Return Report | Stock returned up the hierarchy |
| Distribution Report | Stock sent down the hierarchy to other stores |
| In Stock Expired | Stock you are still holding that is past its expiry date |
| Expired Products | Batches that have expired, whether or not still held |
| Stock Summary | Opening balance, receipts, issues, adjustments, closing balance per product |
| Product Daily | Day-by-day movements for a product |
| Wastage | Everything written off, by reason |
| Inventory | Current stock and recent counts/adjustments |
Reading and exporting a report
- Set a date range at the top; the table refreshes for that window.
- Each report has its own columns suited to what it shows.
- Every report offers a printable view (a formatted PDF headed with your store's name, for filing or sending) and Export to Excel.
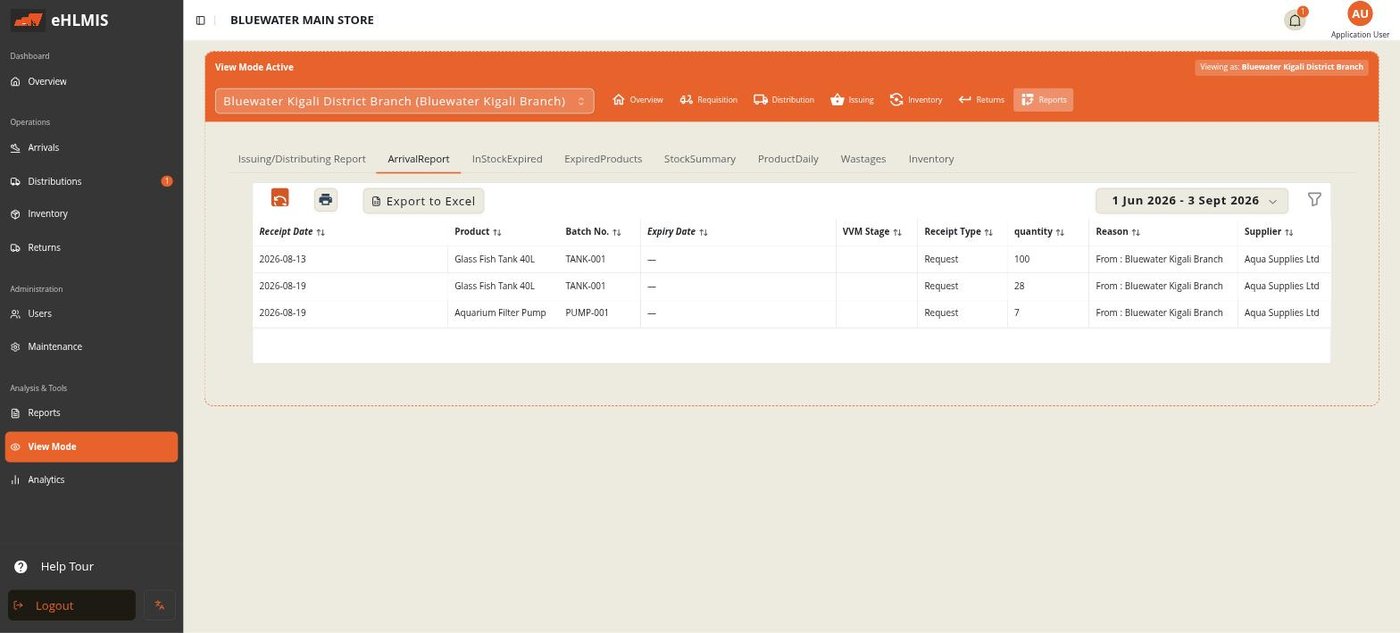
In the Bluewater sample data there are no expired or near-expiry batches, so In Stock Expired and Expired Products come back empty — that is correct, not a fault.
Custom Reports
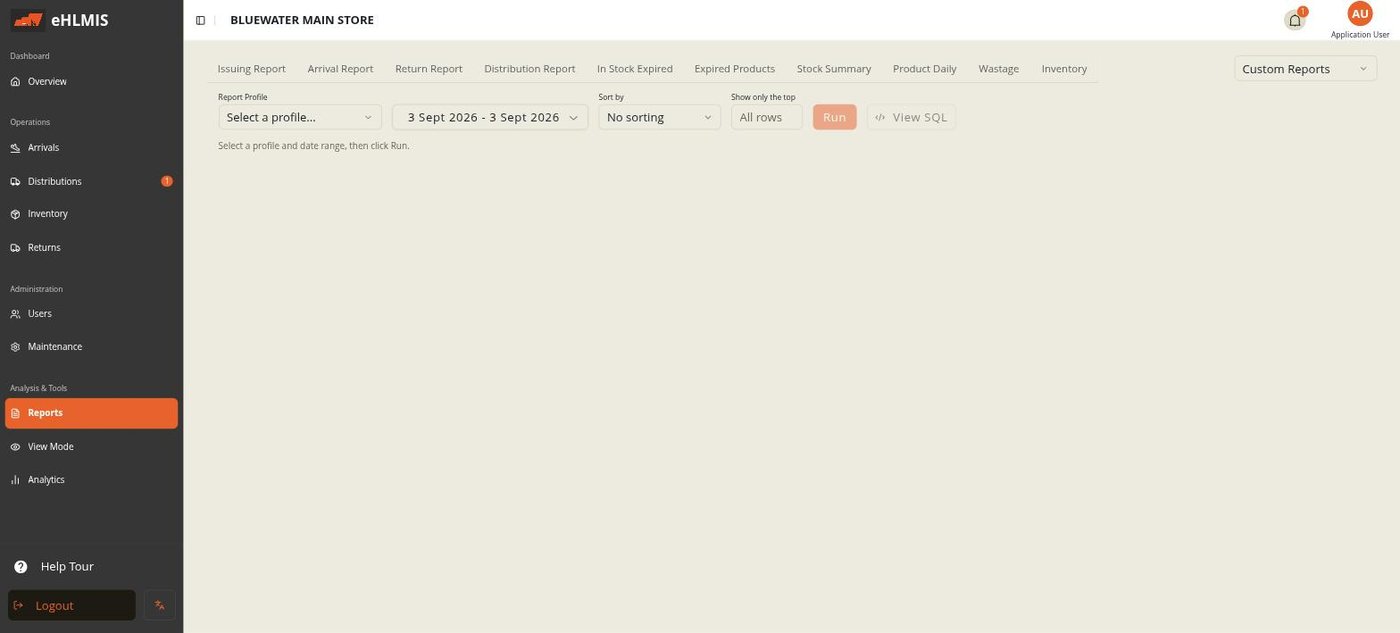
In standalone (non-DHIS2) deployments, a Custom Reports tab appears after the ten standard tabs. It opens the report runner.
Running a custom report
- Pick a Report Profile from the dropdown. Only profiles an administrator built for your deployment are listed here — the ten standard reports already have their own tabs, so they are left out.
- Set the date range.
- Fill in any filters the profile asks for (some profiles let the person running the report narrow it further at run time).
- Optionally choose a Sort by column and order, and cap the output with Show only the top N.
- Click Run. The result appears as a table.
- Export CSV downloads it. (Custom reports export to CSV only; the ten standard reports above keep their branded PDF and Excel exports.)
Building a report profile (administrators)
Report profiles are created and edited under Maintenance → Custom Reports, not on this screen.
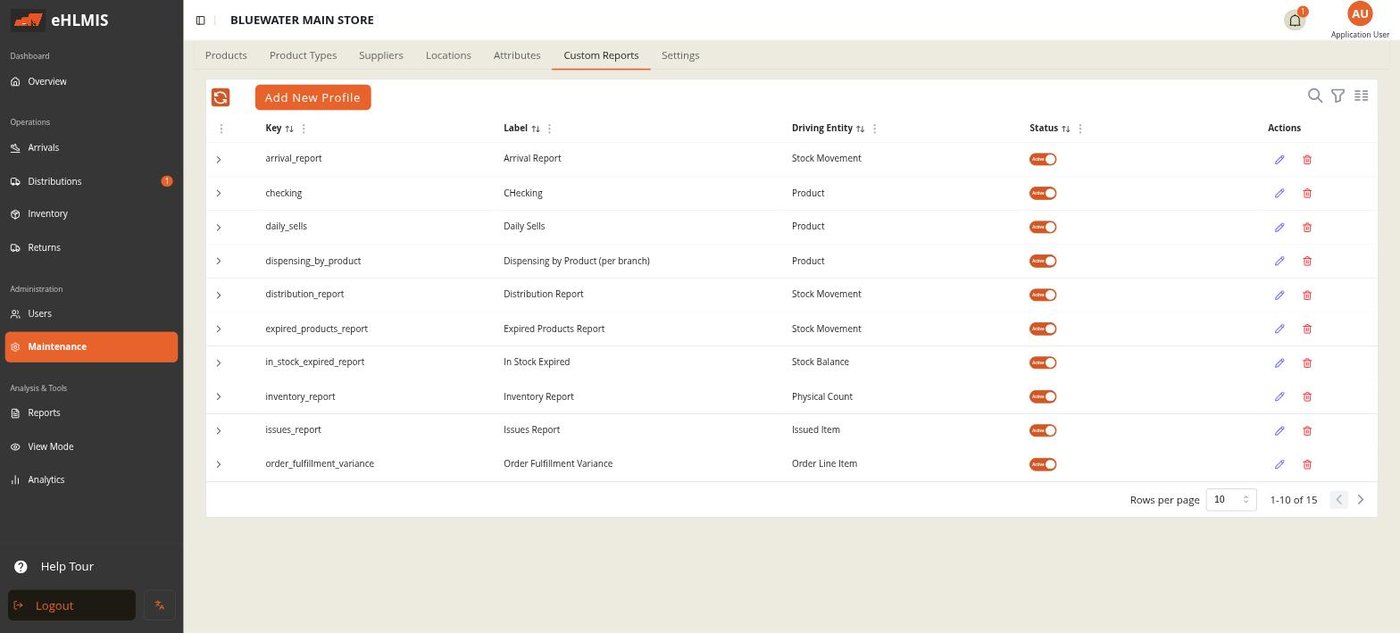
A profile has:
- A Key and Label, and a base record type it reports on (stock movements, orders, inventory, and so on).
- Columns — chosen from fields on the base record and on records related to it, plus computed columns that count or total across groups.
- Fixed filters — conditions that always apply (for example "only wastage movements").
- Run-time filters — a field the person running the report chooses a value for each time.
- An optional date-range field — which date the report's date range filters on.
Profiles can be edited, deactivated, or deleted from the same screen. The ten standard reports are seeded as profiles on a fresh deployment and are fully editable — changing one changes the matching standard tab.
View Mode
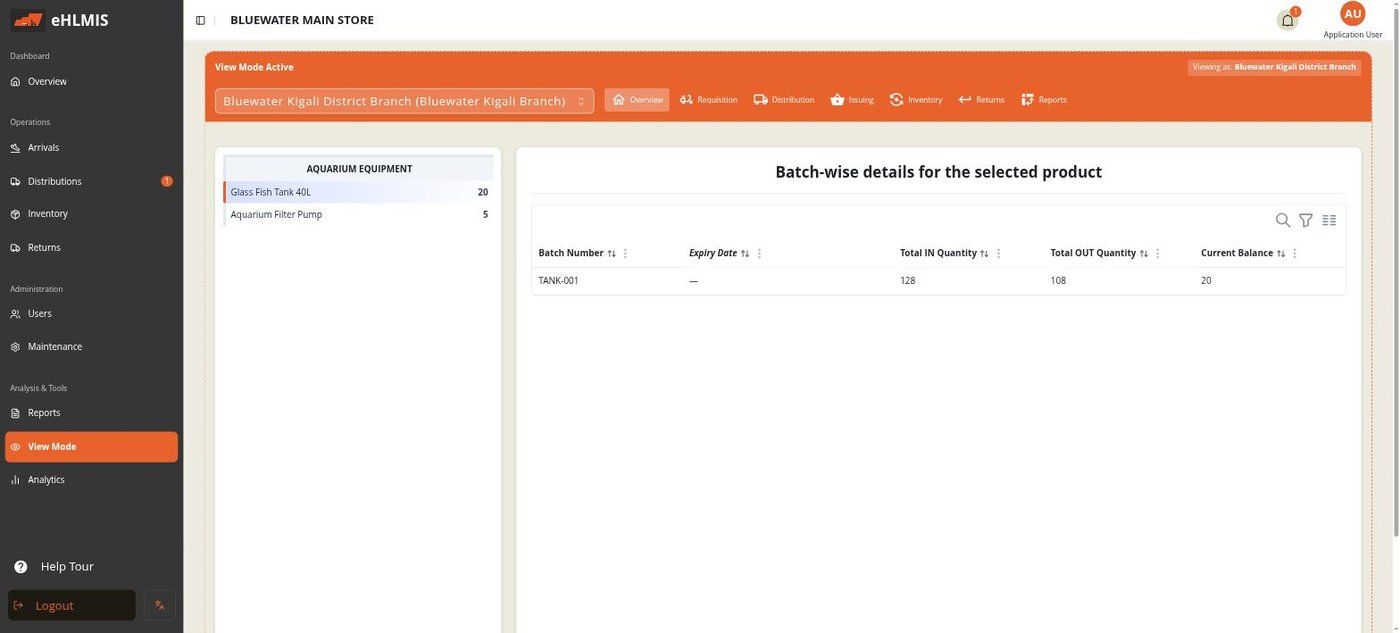
A user whose store has other stores reporting to it can run every report on this screen — the ten standard reports and Custom Reports — against any of those stores from View Mode, without signing in as someone else. Some reports also aggregate across the stores beneath the one picked, so a regional manager can pull an Arrival or Wastage report for a district without that district having to send it.
When HLMIS is synced with DHIS2, aggregated stock figures are also pushed to DHIS2 on a schedule. The connection and push settings live under Maintenance → Settings — see Settings and Integrations. The Custom Reports tab is hidden in DHIS2 mode.