First-Time Deployment Setup
This page is for the person standing up a brand-new HLMIS instance for an organisation. It walks through the very first sign-in and the Setup Wizard that runs once, before anyone can use the rest of the system.
Only the first administrator, once per deployment. If HLMIS is already running for your organisation and people are logging in normally, setup is already done — skip to Getting Started.
What the system creates on its own
The first time the backend starts against an empty database, it creates two things automatically so there is a way in:
-
A main store — the top of your location hierarchy. It is named
Location01unless the deployment was configured with a different name. You can rename it later under Maintenance → Locations. -
An administrator account — username
admin01, with the Administrator role, attached to the main store. Its password is a random one-time string printed in the backend startup logs:First-run bootstrap created the initial admin account. Log in immediatelyand store these credentials securely ... username="admin01" password="…"
If you did not catch the password in the logs, another administrator can still read it later — see the note on temporary passwords below — but on a fresh deployment there is no other administrator yet, so copy it from the logs now.
Step 1 — Sign in
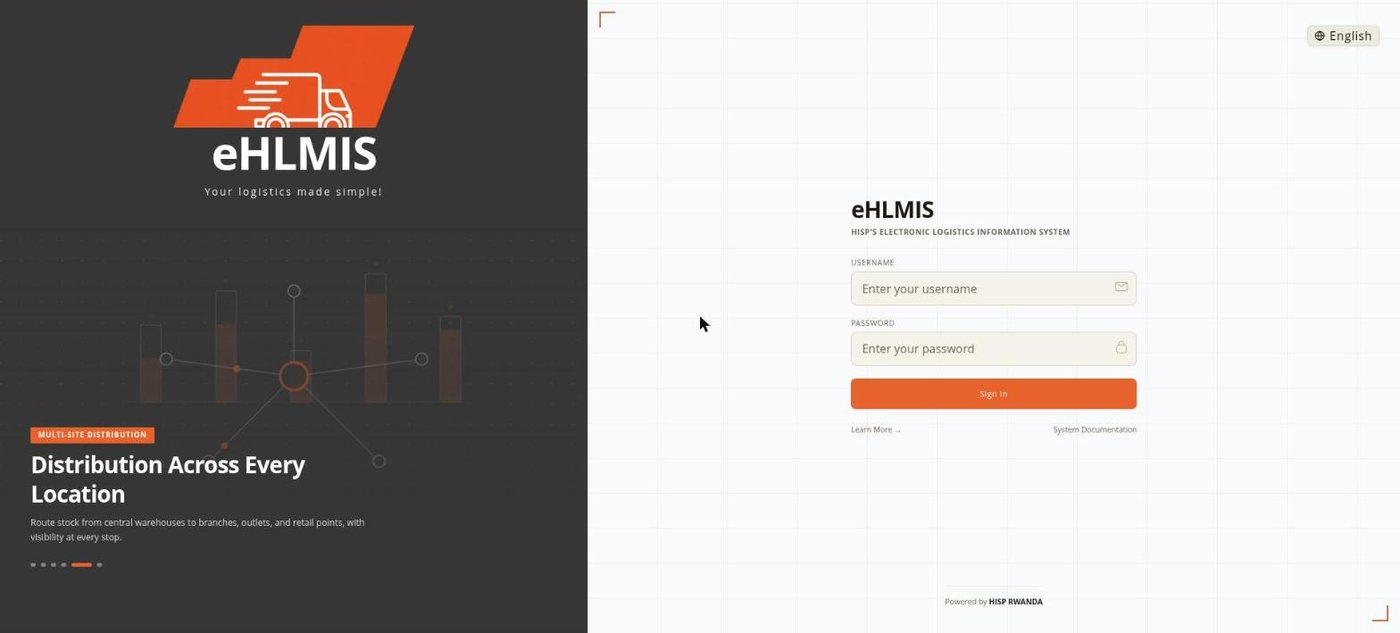
Open the app in a browser and sign in as admin01 with the password from
the logs.
Step 2 — The Setup Wizard
As soon as you sign in, a "Let's set up your deployment" dialog covers the screen. The dashboard behind it is greyed out and cannot be used until the wizard is finished. The wizard has three checkpoints across the top:
| Checkpoint | What it means |
|---|---|
| Branch | At least one branch location exists under the main store |
| Branch Staff | That branch has a store keeper and a store manager |
| Central User | Someone at the main store can receive arrivals |
The wizard only shows a form for checkpoints that are not yet met, and
ticks each one green as you complete it. On a typical new deployment the
Central User checkpoint is already green — your admin01 account can
receive arrivals, which is all that checkpoint requires — so in practice you
usually only fill in Branch and Branch Staff.
Create the first branch
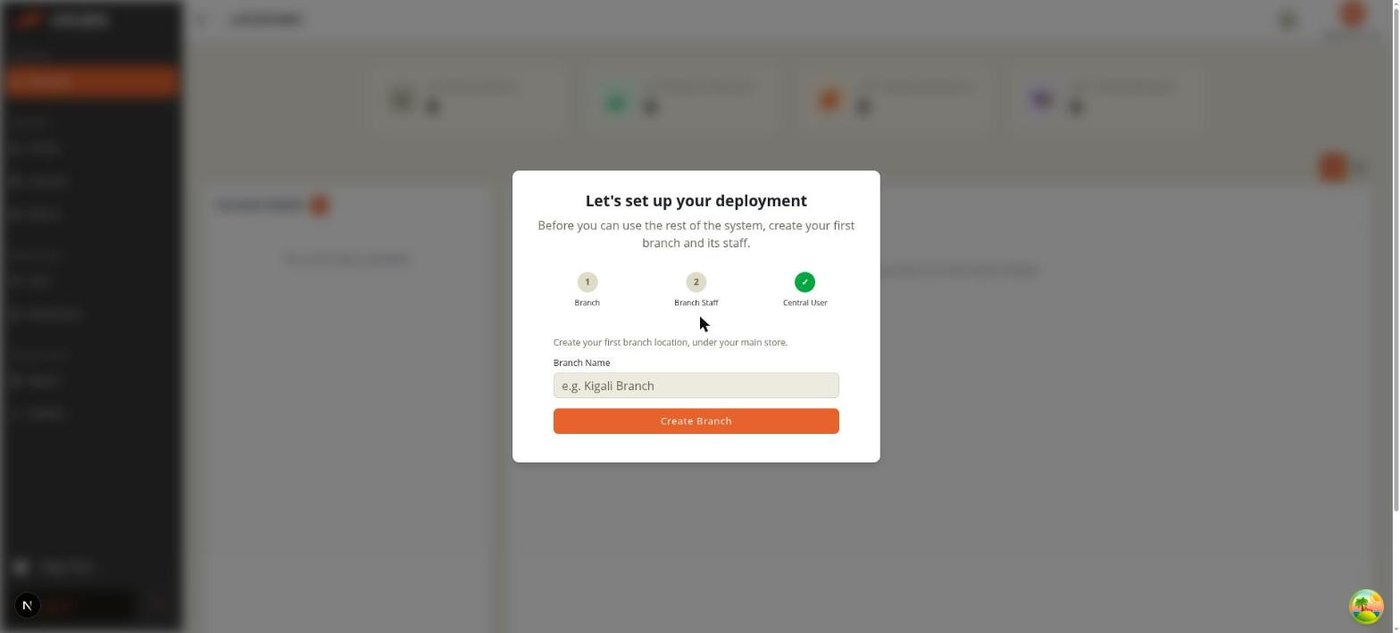
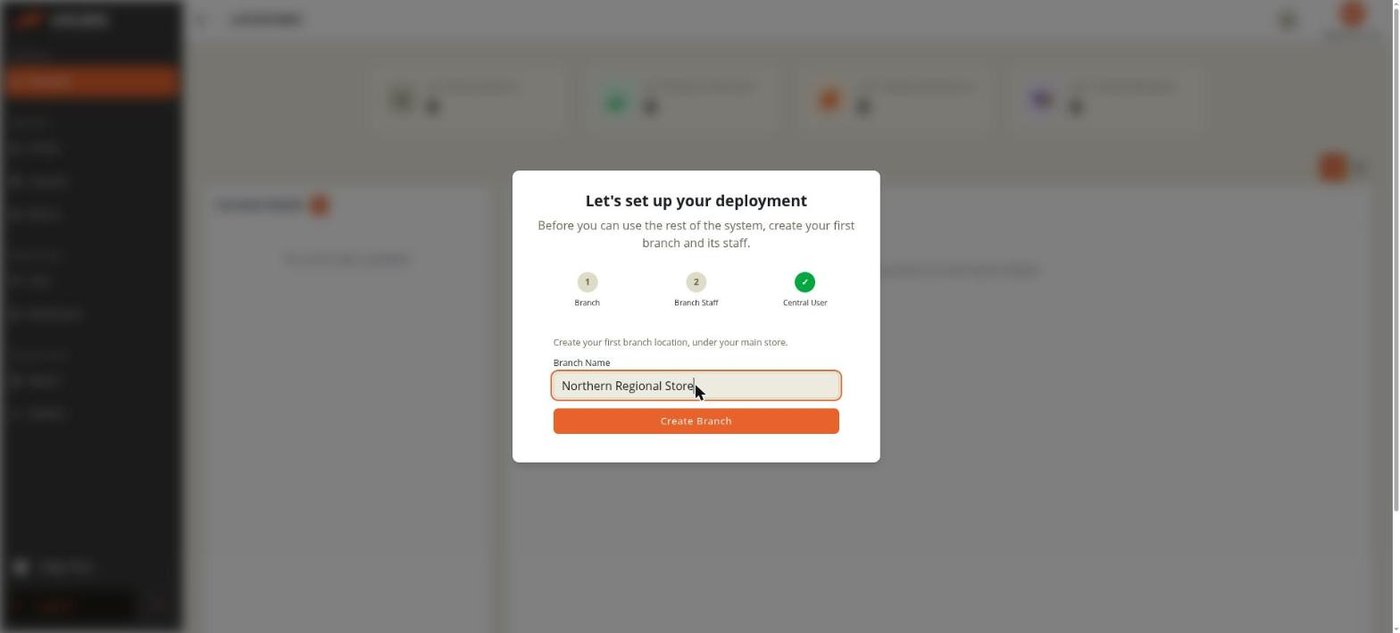
Enter a name for your first branch (for example, a regional or district store) and click Create Branch. The branch is created directly under the main store.
Create the branch staff
Next the wizard asks for two users for that branch, one after the other: first a store keeper, then a store manager. The role and location are fixed by the wizard (shown in the grey bar) — you only provide the person's details.
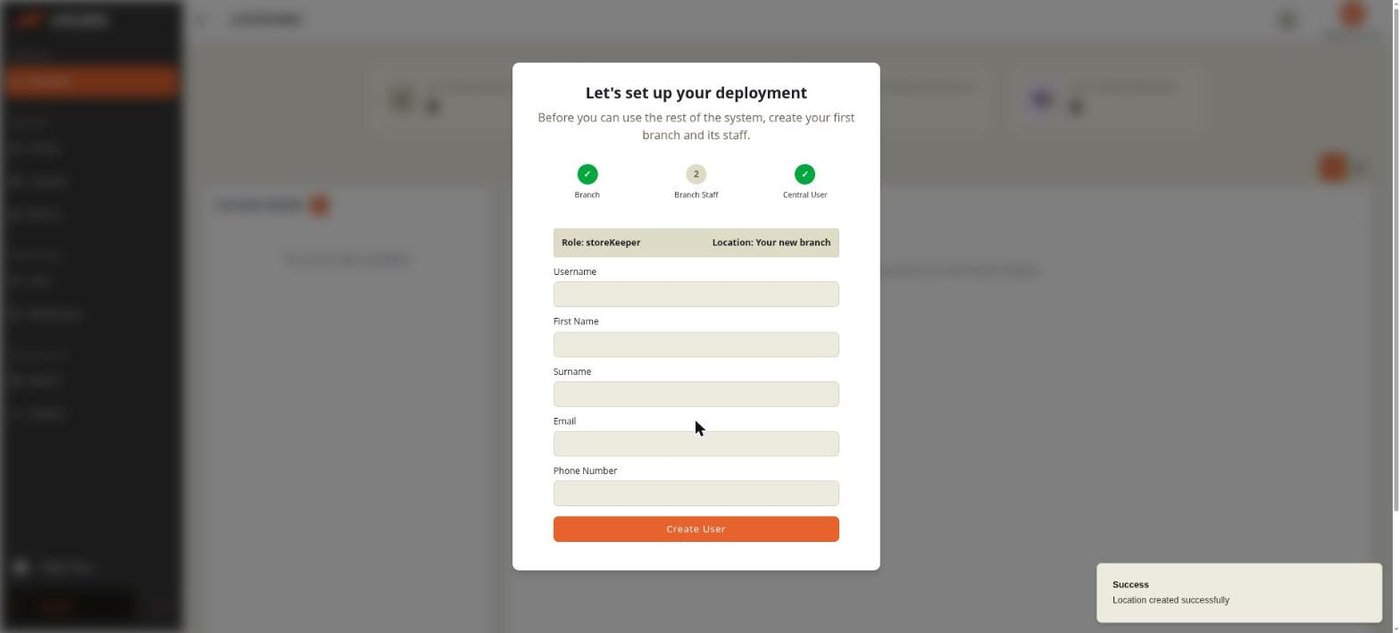
- Username, First Name, Surname are required (at least two characters each).
- Email and Phone Number are optional.
Click Create User. The system generates a temporary password and shows it once:
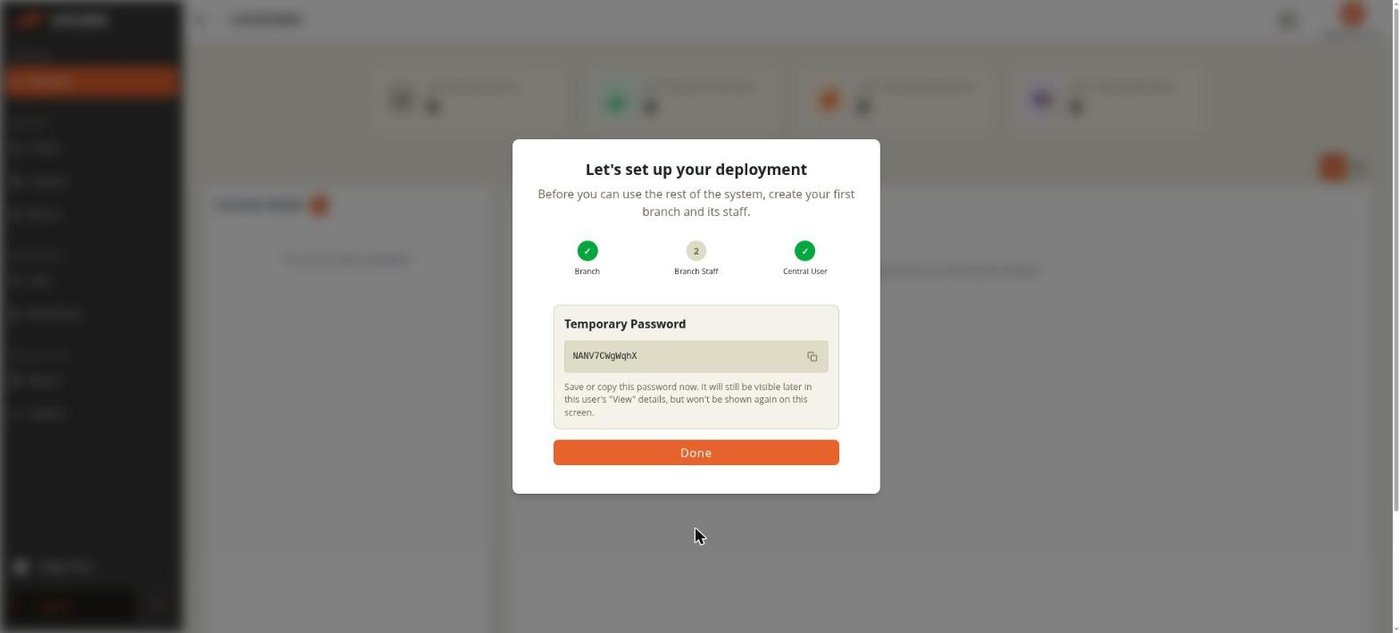
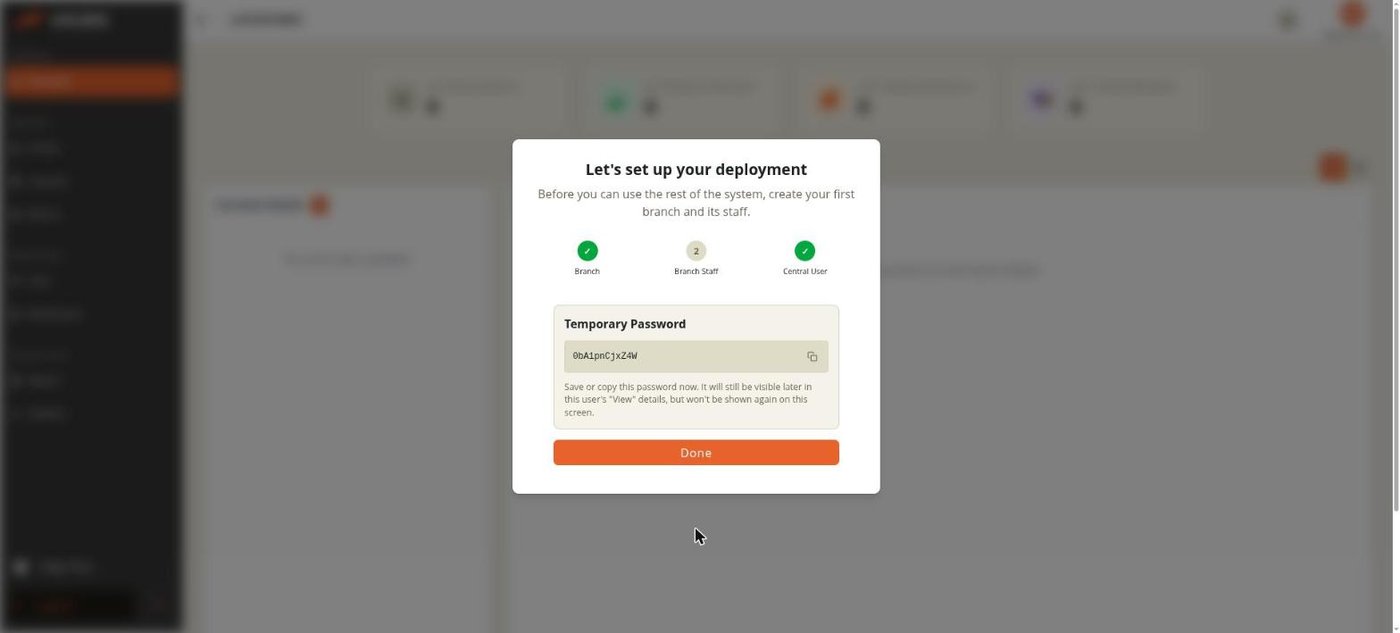
Copy it with the button next to it and give it to that person through a secure channel. Click Done and the wizard moves straight to the store manager form, which works exactly the same way.
Central User
If the Central User checkpoint is not already green, the wizard shows
one more user form — a user at the main store who can receive incoming
shipments. Fill it in the same way. If the checkpoint is already green
(because admin01 covers it), the wizard skips this form.
Step 3 — Setup complete
When all three checkpoints are green the wizard closes and the dashboard becomes usable.
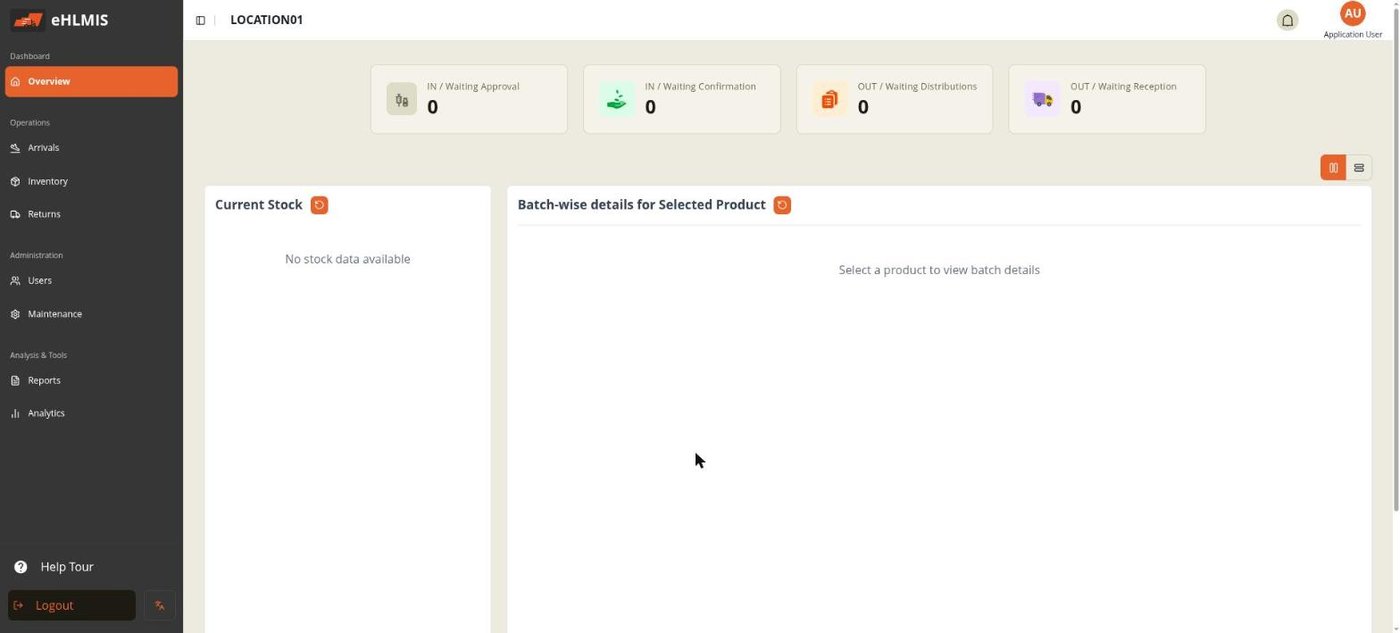
You are now signed in as the administrator at the main store, with the full menu available. From here the usual next steps are:
- Maintenance → Locations — rename the main store if needed, and add the rest of your location hierarchy (facility stores under each branch). See Locations and Stores.
- Maintenance → Products — set up product types, products, and suppliers, and any custom fields your programme tracks. See Products and Configuration.
- Users — add the rest of your staff and, if the built-in roles are not enough, create custom roles. See Users and Roles.
- Maintenance → Settings — review feature toggles and integrations. See Settings and Integrations.
Doing these steps later, outside the wizard
Everything the wizard does is also available from the normal admin screens, and nothing about the wizard is special — a branch it created is an ordinary location, a user it created is an ordinary user. The wizard only exists to guarantee a new deployment has the minimum it needs to function. Once it is complete it never appears again, even if you later delete one of those users or locations.
Temporary passwords
Every user HLMIS creates — through the wizard or later through Users — gets a system-generated temporary password shown once at creation. It stays readable afterwards to any administrator on that user's View screen under Users, until the user is given a new one. There is currently no self-service "change my password" screen; an administrator issues and re-issues passwords.
DHIS2 deployments
The Setup Wizard is for standalone ("manual") deployments. When HLMIS is run against DHIS2, locations and users come from DHIS2 synchronisation instead, and the wizard does not appear. See Settings and Integrations for DHIS2 configuration.